Good evening friends, followers and casual callers I hope you have all had a good day. Bloomin' 'eck it's cold outside.
Well here it is, another step by step by popular demand ( yes I made that bit upl) this time it's for my handbag gift bag. I taught my year old grandaughter to make them at the weekend and shared them with you on my previous post.
All you need is 2 A4 sheets of card, A4 sheet of patterned paper, 2 magnets and embellishments of your choice.
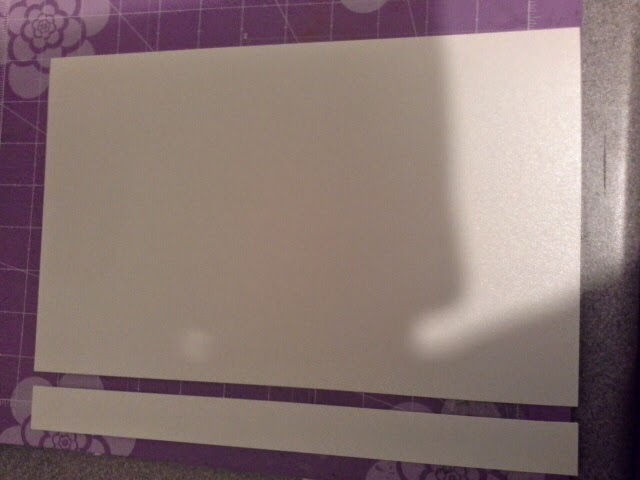
Step 1. Trim 2.5 cm off the long edge of one of the A4 sheets and put to side.
Step 2. Trim the rest of the sheet to 7 inches wide
Step 3. Score this piece at 9cm, 12cm, 12cm and 21cm
Step 4. Trim the patterned paper to 17cm wide
Then cut 2 pieces 8.5 cm
2 pieces 2.5 cm
1 piece 4cm ( this is for the front flap)
Step 5. Stick the patterned pieces to the card thus: the 2 x 8.5 pieces to the larger
sections, the 2.5 pieces to the 2 narrow sections and the 4cm piece to the
front section.
every 1cm along the longer edge
Step 7. Concertina fold along these score lines ( these form the side gussets)
Step 8. Stick these side pieces between the 2 larger section of the bag. I used extra strong DST for this.
Step 9. Score the strap from step one at 2 cm at both ends, this forms the handle.
Step 10. Attach the handle to the underside of the top section as shown
Step 11. Glue the magnets in place. I used Glossy Accents.
Your bag is now ready to be embellished. You could stick patterned paper on to the handle too if you wish.
I do hope you find my step by step instructions eady to follow and will have a go yourself.
Thank you for visiting. Please come again.
Lainie xx


Hi Laine this is a gorgeous project thank you for the tutorial. Hugs Jackie
ReplyDeleteThis comment has been removed by the author.
ReplyDeleteWonderful tutorial and purse design.
ReplyDeleteHugs Diane